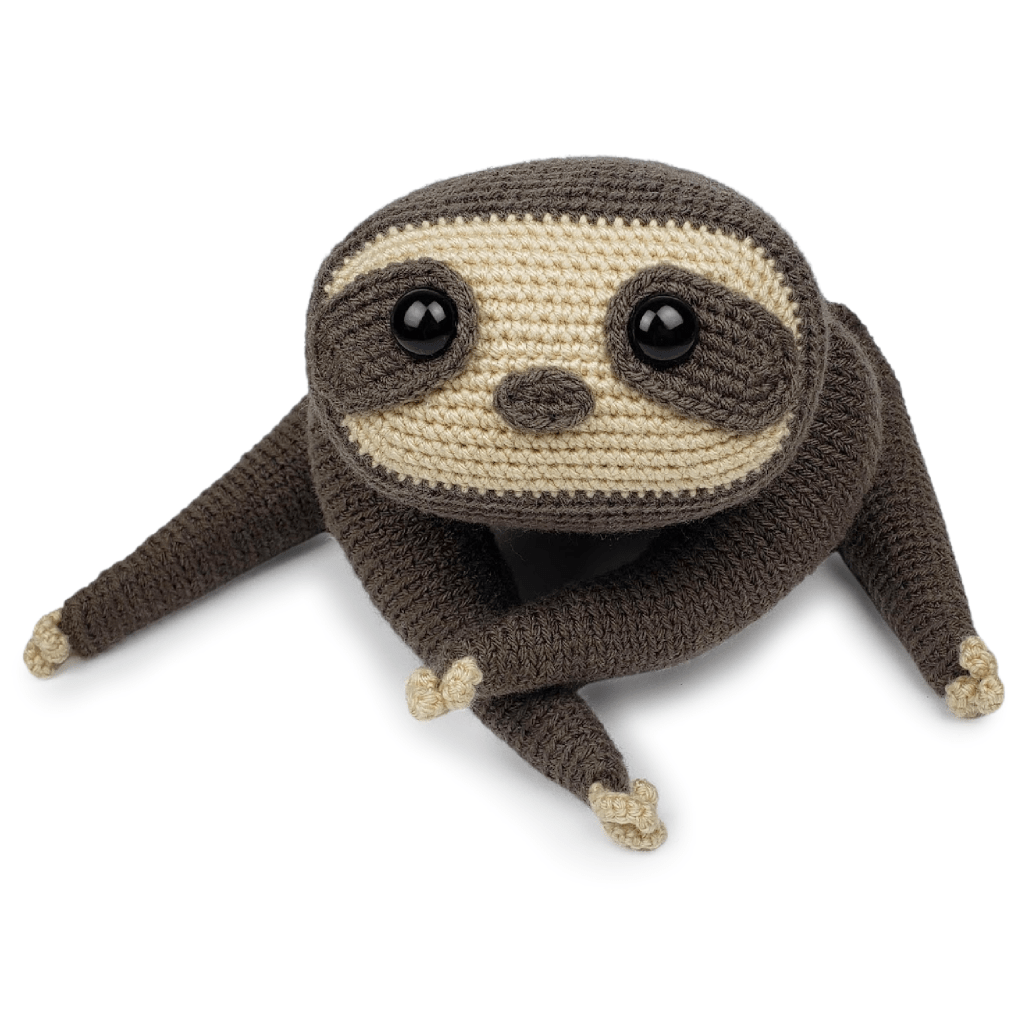
One of the most important techniques for making amigurumi can be one of the hardest to learn: the magic ring (also known as the magic circle). But once you get the hang of it, you will think it is quite magical!
There are different ways you can start a piece in amigurumi, but the first method I learned was the magic ring and it works so well for me it is the method I use the most. You may be familiar with the more traditional way of starting in the round: chain 2, then crochet multiple stitches (usually 6) into the second chain from your hook. I prefer the magic ring for amigurumi because it doesn’t leave as noticeable a hole in the center, BUT there are cases in which the ch 2 method may be better, such as with certain yarn. Experiment with both methods so you have both options in your arsenal of skills to use when needed.
Now, the magic ring can be done in different ways – how you hold the yarn and where you insert you hook. In this tutorial I will demonstrate how I like to do it, but once you get the hang of it and learn how it all works, you may find you start doing it a little differently to suit your style, and that is ok! Do what feels right for you.
Below you will find both a video tutorial and a written tutorial for the magic ring.
Written Tutorial:
(1) Lay the end of your yarn over two or three of your fingers, with the end hanging in front:

(2) Wrap the yarn by bringing it underneath, up, and over your fingers, crossing the yarn at the top of your fingers, then dropping the yarn behind:

(3) Behind your fingers, bring your hook under the first strand (the one that is wrapping around you fingers) and pick up the strand you dropped (the one that leads to the skein of yarn), pulling the yarn back under the first strand and up:

Now you have essentially made the magic ring, but you need to move it around a bit so that you can place your hands and the yarn in a position to start crocheting.
(4) Hold the loop on your hook with your right index finger and transfer the magic ring from your left hand to the right middle finger for safe keeping. This frees up your left hand to pick you the yarn so you can start crocheting:

(5) Pick up the yarn leading to the yarn skein in your left hand and hold it the way you normally do when crocheting, then transfer the magic ring back onto the middle and ring fingers of your left hand:

(6) Hold onto the two strands of the magic ring that lie in front of your fingers between your thumb and middle finger, then tighten the loop that is around your hook with your left index finger (like you normally would to gain tension):

Now you are ready to crochet! Start by making a chain stitch, then you simply crochet into the ring, as if it was a large stitch that you are crocheting into. When you do, make sure you go under BOTH yarn strands of the front of the ring:
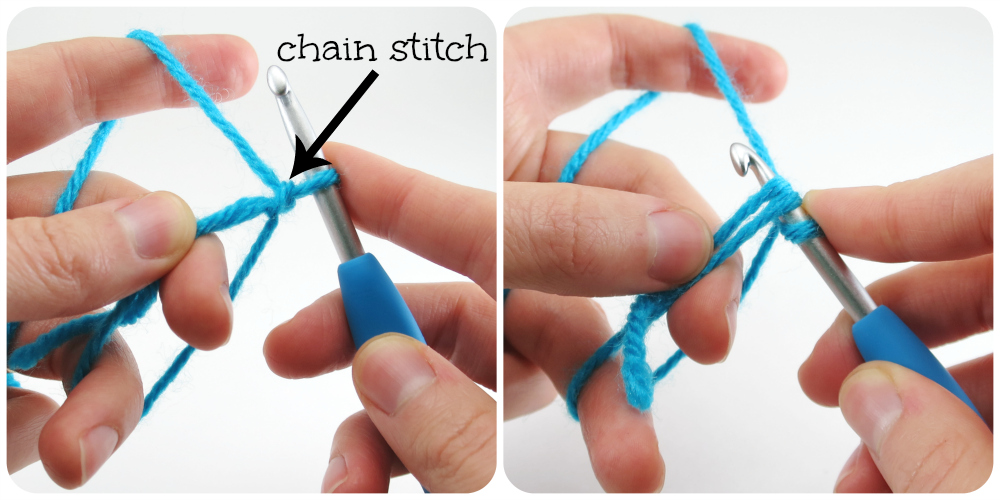
Once you have made the correct number of stitches into the ring, simply pull the yarn end and the ring will close:

Hope that helps with making your magic rings! It may seem like a lot of steps right now, but once you get the hang of it you will be making them without much thought.